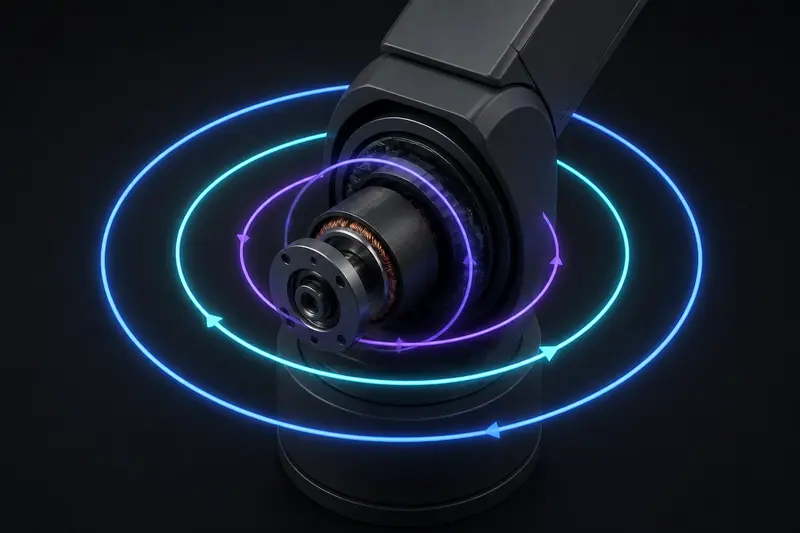
Almost every commercial servo drive controls a robot joint with three nested PID loops: an inner current (torque) loop, a middle velocity loop, and an outer position loop. Vendor manuals tell you to "tune the inner loop first" and keep each loop "5 to 10 times slower" than the one inside it, but they rarely show why, or what numbers actually come out of that rule for a real joint. This article walks through a cascaded PID control loop design from scratch, using real motor and mechanical parameters, so you end up with concrete gains instead of a vague heuristic.
Why cascade three loops instead of one
A single position PID acting directly on motor voltage has to fight everything at once: electrical dynamics, mechanical inertia, friction, and any load disturbance, all through one set of gains. Splitting the problem into nested loops lets each loop handle one physical time constant:
- Current loop - controls coil current, which is proportional to torque. Fights the fast electrical time constant of the winding.
- Velocity loop - commands a current setpoint to track a desired joint speed. Fights the mechanical time constant (inertia and friction).
- Position loop - commands a velocity setpoint to track a desired angle. Usually just a P or PI term on position error.
Each outer loop treats the loop inside it as an ideal, instantaneous actuator. That assumption only holds if the inner loop is meaningfully faster than the outer one. This is the bandwidth-separation rule, and it is the actual reason cascaded PID control loop tuning works at all.
Step 1: size the current loop
Take a small brushed DC joint motor with winding resistance R = 1.2 Ω and inductance L = 0.8 mH. The electrical time constant is:
tau_e = L / R = 0.0008 / 1.2 = 0.667 ms
For a PI current controller with gains Kp_i and Ki_i driving a first-order R-L plant, pole-zero cancellation gives a clean design rule: set Ki_i / Kp_i = R / L (cancels the plant pole), then pick Kp_i to place the closed-loop bandwidth where you want it. For a target current-loop bandwidth of f_i = 2 kHz (omega_i = 2*pi*2000 = 12566 rad/s):
Kp_i = omega_i * L = 12566 * 0.0008 = 10.05 V/A
Ki_i = Kp_i * (R / L) = 10.05 * 1500 = 15075 V/(A*s)
This loop needs to run at least 5-10x faster than its own bandwidth to behave like a continuous controller, so a 10-20 kHz sample rate is appropriate here. This is the same current-loop structure covered in more depth, including PWM duty cycle conversion, in the torque control article - this piece focuses on what sits on top of it.
Step 2: size the velocity loop at 1/10 the current-loop bandwidth
Take the joint's reflected inertia (motor plus gearbox plus link, referred to the motor shaft) as J = 0.00045 kg*m^2, with viscous friction b = 0.002 N*m*s/rad. The mechanical plant from commanded current to velocity, assuming the current loop is fast enough to be treated as ideal, is:
J * domega/dt + b * omega = Kt * i_cmd
with a torque constant Kt = 0.06 N*m/A. Set the velocity-loop bandwidth at 1/10 of the current loop: f_v = 200 Hz, omega_v = 1257 rad/s. Using the same pole-cancellation approach (cancel the mechanical pole b/J, then set the proportional term for the target bandwidth):
Kp_v = omega_v * J / Kt = 1257 * 0.00045 / 0.06 = 9.43 (A per rad/s)
Ki_v = Kp_v * (b / J) = 9.43 * 4.44 = 41.9 (A per rad, per second)
Run this loop at roughly 2-5 kHz, comfortably inside the current loop's 10-20 kHz but well above its own 200 Hz bandwidth.
Step 3: size the position loop at 1/10 the velocity-loop bandwidth
The position loop treats the velocity loop as an ideal integrator: commanded velocity becomes actual velocity almost instantly relative to position-loop dynamics, and velocity integrates directly to position. That makes the position plant a bare integrator, 1/s, which a proportional-only (or PI) controller handles cleanly. Set the position-loop bandwidth at 1/10 of the velocity loop: f_p = 20 Hz, omega_p = 125.7 rad/s.
Kp_p = omega_p = 125.7 (rad/s per rad of error)
In practice this comes out as a commanded velocity of 125.7 rad/s for every radian of position error, saturated by the joint's actual max velocity. Most implementations skip an integral term here, or use a very small one, because integral windup on the position loop compounds badly with the loops underneath it - see the anti-windup article for why. Run the position loop at 200-500 Hz, again a decade below the velocity loop's own bandwidth.
Why the bandwidth ratio matters
If you skip the separation and set, say, the velocity loop to 800 Hz bandwidth (only 2.5x below the current loop instead of 10x), the current loop's own phase lag starts eating into the velocity loop's phase margin. The velocity loop's assumption that current tracks instantly breaks down, and you get overshoot or ringing that looks like a badly tuned velocity PID but is actually a bandwidth-separation violation. The fix is not more derivative gain - it is slowing the outer loop down or speeding the inner loop up.
Conversely, if the position loop is set too conservatively (say 2 Hz when the velocity loop supports 20 Hz), the joint feels sluggish: it takes visibly longer than necessary to settle onto a new target even though the actuator has plenty of headroom left.
A quick numeric sanity table
| Loop | Bandwidth | Sample rate | Kp | Ki |
|---|---|---|---|---|
| Current | 2000 Hz | 10-20 kHz | 10.05 V/A | 15075 V/(A*s) |
| Velocity | 200 Hz | 2-5 kHz | 9.43 A/(rad/s) | 41.9 A/(rad*s) |
| Position | 20 Hz | 200-500 Hz | 125.7 (rad/s)/rad | 0 or small |
The pattern to notice: each loop's bandwidth is a decade below the one feeding it, and each loop's sample rate is comfortably above its own bandwidth (roughly 10x). That combination is what makes the "treat the inner loop as ideal" assumption hold well enough in practice.
Practical tuning order
- Tune the current loop first, in isolation if your driver allows it (command a current step, verify the response settles in a few electrical time constants with minimal overshoot).
- Tune the velocity loop next, with the current loop active underneath it. Command a velocity step and check for overshoot; back off Kp_v if the response rings.
- Tune the position loop last. Command a position step and watch for overshoot or a sluggish approach; adjust Kp_p while keeping Ki_p small or zero.
- If any outer loop misbehaves, first check whether the bandwidth ratio to its inner loop is still close to 10x before adding more gain.
These formulas assume linear, well-behaved plant dynamics; real joints add gear backlash, stiction, and sensor noise that will pull the achievable bandwidths down from the ideal numbers above. Treat the pole-cancellation gains as a starting point, then back off Kp on each loop until step responses are clean with 10-20% headroom before the next stability boundary.
Building or studying robotics?
Arcbotix publishes practical guides on robotics engineering, control systems and real-world builds. Explore more articles on the blog.