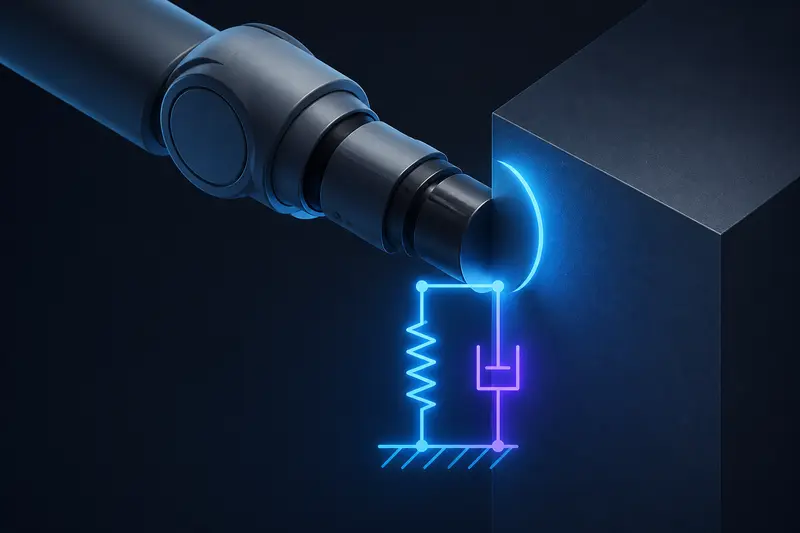
Impedance control vs admittance control is one of those topics that gets explained twice in every paper: once correctly, and once in a way that leaves you unsure which controller your own robot arm actually needs. Both approaches make a rigid robot arm behave like it is connected to its environment through a spring and a damper instead of a rigid link. The confusion comes from the fact that they compute opposite things from the same physical model. This article works through one concrete one-degree-of-freedom example with real numbers so you can see exactly what each controller commands, then connects that back to which hardware each one actually fits.
The Shared Model: A Virtual Mass-Spring-Damper
Both controllers start from the same target dynamics equation, a virtual mechanical impedance the robot should present to the outside world:
M * xdd + D * xd + K * x = F_ext
where x is the position error between the end-effector and a reference point, xd and xdd are its velocity and acceleration, M is a virtual mass, D a virtual damping coefficient, K a virtual stiffness, and F_ext the force the environment applies at the end-effector. Pick a small, stiff-ish contact behavior for a 1 kg end-effector task: M = 2 kg, D = 40 Ns/m, K = 500 N/m. The two controllers use this exact equation, but they solve it for different unknowns because they assume different sensing and actuation.
Impedance Control: Motion In, Force Out
Impedance control assumes the robot can command joint torque directly (a torque-controlled arm, or one with accurate current-based torque estimation, see our torque control for robot arm joints article for how that current-to-torque path works). It measures the actual position and velocity, computes the position error against a reference trajectory, and rearranges the impedance equation to solve for the commanded force:
F_cmd = K * (x_ref - x) + D * (xd_ref - xd) - M * xdd_ref
Take a numeric case: the end-effector reference position is x_ref = 0 (a fixed point, no imposed motion), and a soft object has pushed the actual tip to x = 0.01 m (1 cm) with velocity xd = 0.05 m/s as it slides in. Then:
F_cmd = 500 * (0 - 0.01) + 40 * (0 - 0.05) = -5 - 2 = -7 N
The controller commands -7 N at the end-effector, which the Jacobian transpose converts to joint torques. The robot pushes back with a force proportional to how far it was displaced, exactly like a real spring and damper would. No force sensor is required in the simplest form. The tradeoff is that the -7 N number is only as accurate as the robot's torque output, and joint friction (especially in a robot arm using a gearbox with backlash and stiction, see our gearbox backlash compensation article) directly corrupts the commanded force, which is why impedance control tends to feel less precise at low forces.
Admittance Control: Force In, Motion Out
Admittance control assumes the opposite hardware situation: a stiff, accurately position-controlled robot (most industrial arms) with a force or torque sensor, usually at the wrist. It measures the actual contact force F_ext and solves the same impedance equation for acceleration, then integrates twice to get a position command for the robot's existing high-gain position loop:
xdd = (F_ext - D * xd - K * x) / M
Take a numeric case with the same virtual parameters: the wrist force sensor reads F_ext = 10 N as the end-effector first touches a surface, starting from rest at x = 0, xd = 0:
xdd = (10 - 40*0 - 500*0) / 2 = 5 m/s^2
Integrate over one 10 ms control step with simple Euler integration:
xd_new = 0 + 5 * 0.01 = 0.05 m/s
x_new = 0 + 0.05 * 0.01 = 0.0005 m
That 0.5 mm position offset is sent as the new setpoint to the robot's inner position controller for the next step. Repeat this every control cycle and the end-effector yields smoothly into the 10 N push, settling once the spring and damper terms balance the applied force. The advantage is that it reuses a robot's existing stiff position loop unchanged, which is why admittance control is the more common retrofit for industrial arms that were never designed with torque control in mind. The tradeoff shows up against rigid, non-compliant obstacles: a hard stop can produce a force spike faster than the position loop can react, causing the classic admittance instability against rigid contact that shows up repeatedly in the literature.
Choosing Between Them
- Torque-controlled arm, no dedicated force sensor: impedance control. It works directly from joint torque and position/velocity feedback you likely already have.
- Stiff, position-controlled arm with a wrist force/torque sensor: admittance control. You cannot easily command torque on this hardware, so let the force sensor drive a position setpoint instead.
- Contact against a very stiff or rigid surface: favor impedance control, or lower the admittance gains (reduce K, increase D) and slow the approach velocity to avoid the instability admittance control shows against rigid stops.
- Precise low-force interaction (light assembly, deburring): impedance control is more sensitive to joint friction at low forces; a well-calibrated admittance controller with a good force sensor often tracks small forces more cleanly.
What This Looks Like in Code
The admittance side is the easier one to bolt onto an existing robot, since it is a small numeric integrator sitting in front of a position controller that does not need to change:
xdd = (F_ext - D * xd - K * x) / M
xd += xdd * dt
x += xd * dt
send_position_setpoint(x_ref + x)
The impedance side plugs directly into a torque command, replacing whatever fixed-gain PD torque law the joint was using:
F_cmd = K * (x_ref - x) + D * (xd_ref - xd)
tau_cmd = J_transpose(q) @ F_cmd
Both loops still need the same practical care as any other closed-loop controller on a real robot arm: a sane control rate (see our real-time considerations in robot control loops article), sensor noise filtering on the force or torque readings, and stiffness/damping values tuned down from a textbook starting point until the arm stops oscillating against the specific object it needs to touch.
Building or studying robotics?
Arcbotix publishes practical guides on robotics engineering, control systems and real-world builds. Explore more articles on the blog.